Photoshopで、境界線だけのテキストを作りたい!と思っても、文字パネルにはカラーしか選択が出てきません。
そんな時は、レイヤースタイルを駆使しちゃいましょ♪
背景素材:Adobe Stock
テキストの塗りを0%に
テキストレイヤーを選択した状態で、「塗り」を0%に変更します。
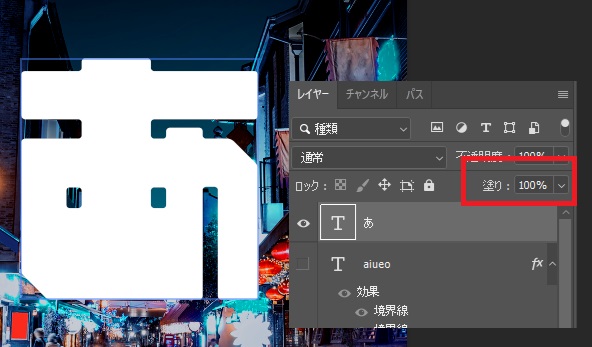
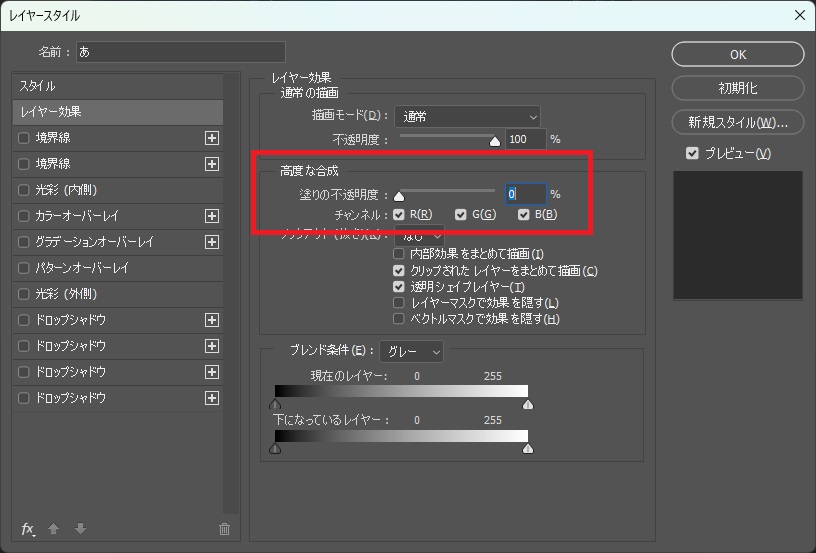
上のキャプチャのようにレイヤーパネルから塗りを変更できますが、レイヤースタイルのレイヤー効果からも変更ができます。
レイヤースタイルの「境界線」を付ける
レイヤースタイルで境界線を追加します。
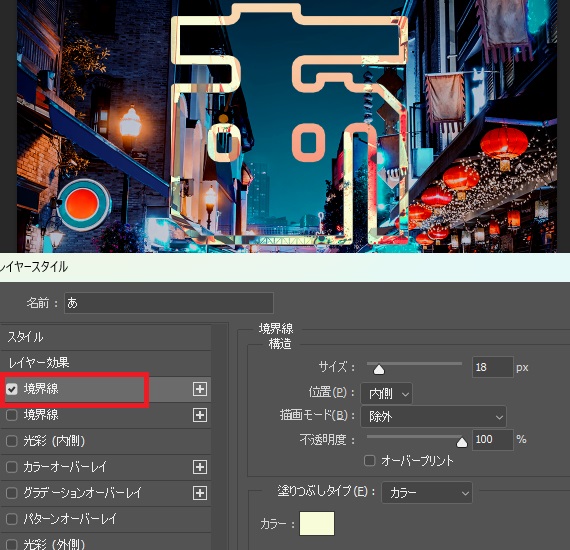
塗り透過の線だけの文字が出来ました♪
さらに光彩を追加して、ネオンぽい表現もできます。

ネオンの作り方はこちらの記事をご参照ください↓